When we first introduced our 1-step gel nail polish, it was a revolutionary change in how polish is applied and worn. Instead of spending up to 40 minutes applying gel nail polish in several stages, our 1-step gel could be applied and cured under a lamp in just a few seconds. The results were durable and looked great, but the application process saved huge amounts of time and effort. The feedback we got about our revolutionary 1-step process led us to believe we had a winner on our hands, but recently we've been developing new ways to improve our gel nail polish.
One way to further improve the durability of your manicure is to apply our convenient 1-step gel nail polish as part of a 3-step process instead. This isn't the same as the old process professionals charge for applying gel polish, but it does potentially extend the life of your manicure by up to three weeks. It is up to you whether you use our gel nail polish in one step for convenience, or you go for the longer process to get great long-lasting results, but both work to give your nails an amazing finish that lasts longer than liquid polish can.
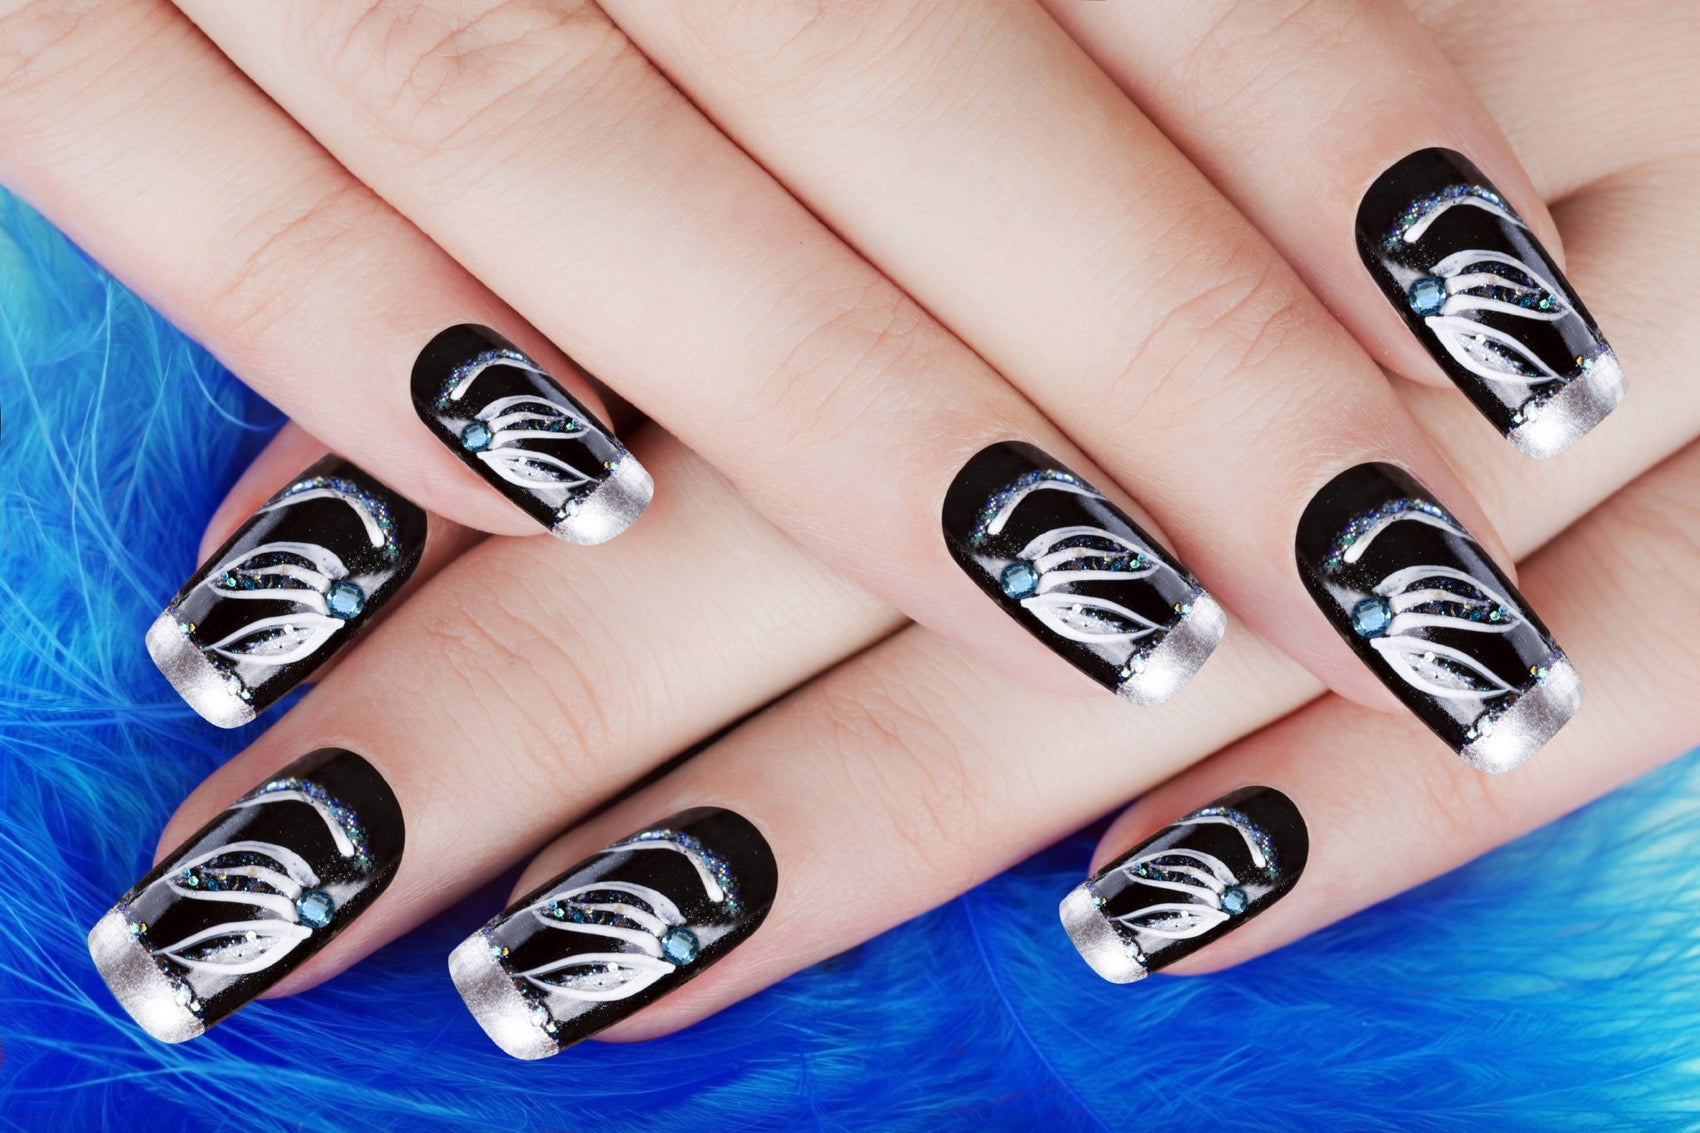
Fast-Setting 1-Step Gel Polish
It couldn't be easier to apply our 1-step gel nail polish and let it set into a beautiful glossy manicure. Instead of paying a professional manicurist to apply a base coat to your nails, layer on the polish and the top coat and then wait for close to an hour for everything to set, our 1-step gel polish goes on in seconds. To apply the gel in one step, just brush it onto your nails as you normally would, then hold your fingernails under a UV or LED lamp for just a minute or two. The single layer of polish sets and hardens to a beautiful glossy shine while you wait, and then you're ready to go.
Keep a Manicure Longer with 3-Step Gel Polish
While our revolutionary 1-step gel nail polish process is a huge time saver and represents a massive improvement in the time you spend getting your nails fixed up, it isn't the only way to use the 1-step gel. No matter how advanced the formula for our gel nail polish gets, you can always toughen up the nail surface with a few extra steps. While an ordinary one-step manicure can easily give you up to a week of colourful, unblemished nails, splitting the process into three steps allows you to add extra layers and dramatically extend the life of the manicure.
The 3-step gel polish process isn't much more complex than the 1-step process we developed for gel polish years ago. First, apply the base coat to your nails. Second, put on the universal bonder. Finally, apply the no-wipe top coat to seal and protect the lower layers. These layers go on as smoothly as the underlying gel nail polish, and you can cure them together under the same lamp in under 2 minutes. When the process is complete, you should have a glossy colour that resists chipping and stays fresh looking for up to three weeks.
1-Step Versus 3-Step. . . Which Way is Best?
Both the 1-step and 3-step gel nail polish processes have their advantages and their drawbacks, and it's up to you to decide which way is the best for getting the results you love. Going with the single-step gel polish, you can apply the single layer and cure it in seconds. The results look great and should last for at least a week before it's time to reapply the gel. You also don't have to deal with sticky top coats or other issues a professional manicure takes upward of 40 minutes to handle for you.
If you opt for the 3-step gel nail polish process, it does take a bit more time to put on your colours and fix them in place, but the results can be equally stunning. Our triple-layered gel polish hardens into a tough, durable gloss coat that stays looking great for up to three weeks. Removing the polish, base coat and bonder doesn't take any longer than removing the 1-step gel polish does, and reapplying the polish can be done at home. While the 3-step polish process does take extra time, it's only around a minute or two more than the 1-step process, and it's nearly an hour less than the time a similar manicure takes in a professional salon.
No matter what kind of manicure you go with, the 1-step or the 3-step process, our gel nail polish is a great choice for getting stunning results with no gel cleanser or sticky residue. Our polish works in a single step for fast and easy application of stunning colours, or you can split it up into a more involved 3-step process for durable, high-quality results. Both processes can be done in the comfort of your own home, rather than in a nail salon, and neither process requires you to pay professional rates for tough, high-gloss nails. Both our 1-step and 3-step gel nail polish systems can be put on and removed in far less time than a professional manicure, which is ideal for trying out new colours or applying quick touch ups when you're busy with other things.
If you use our 1-step gel nail polish to give yourself stunning and colourful nails, but you'd like to try using the same products in a 3-step process for longer lasting results, we offer a free tutorial that can help you along. Read our guide to applying 3-in-1 gel nail polish here, and don't forget our complementary guide to removing your 3-in-1 gel nail polish here. Whichever method you choose to apply your colours, our 1-step gel nail polish is the ideal choice for simple, convenient and above all flexible at-home manicures you love the look of, and that can last for up to three weeks without maintenance or fill.